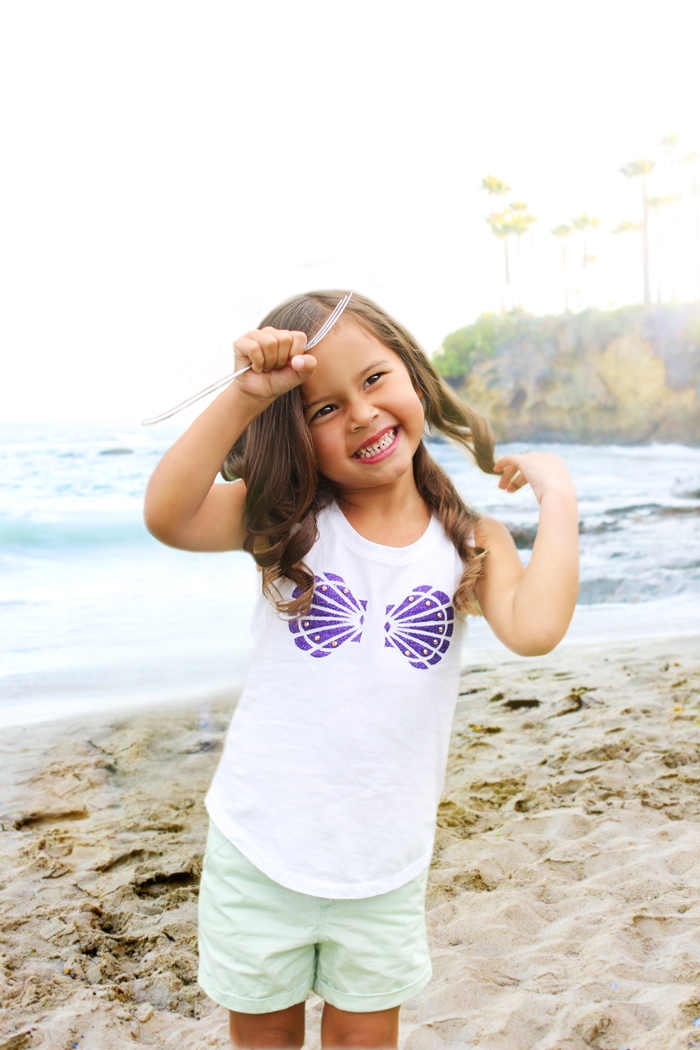
DIY MERMAID GLITTER TEE TUTORIAL
Little Lucy LOVES mermaids! As all our other little HB Littles. I wanted to make her something special for the summer and actually had a dream about this sweet shirt! I had to make it. I searched far and low for the perfect stencils so you all could duplicate this project. I finally came across Martha Stewarts stencil kit where I found the perfect size clamshells for this sweet tank top. These would even look cute on bigger girls and its such an easy craft they can almost do it themselves! Maddy (9 yrs old) wanted to make this shirt for her little sissy so I let her go ahead and create this Little Mermaid Tank for Lucy.
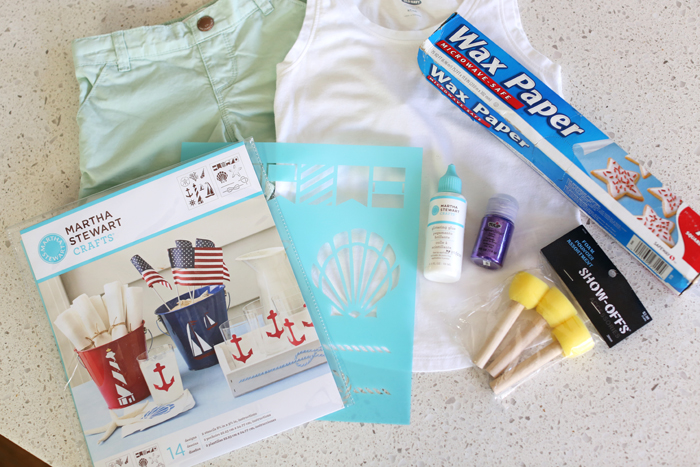
HERE ARE THE MATERIALS NEEDED…
-Martha Stewart Glitter Glue HERE
-Marth Stewart Stencils HERE
-Tulip Fabric Glitter HERE
-Sponge Round Brushes HERE
-Wax Paper
-White Tank (Old Navy) HERE
-Mint Shorts (Old Navy) HERE
(Optional not pictured here)- Flatback Crystals, application wax stick and Gem-Tac Glue HERE
(We are a participant in the Amazon Services LLC Associates Program, an affiliate advertising program designed to provide a means for us to earn fees by linking to Amazon.com and affiliated sites.)
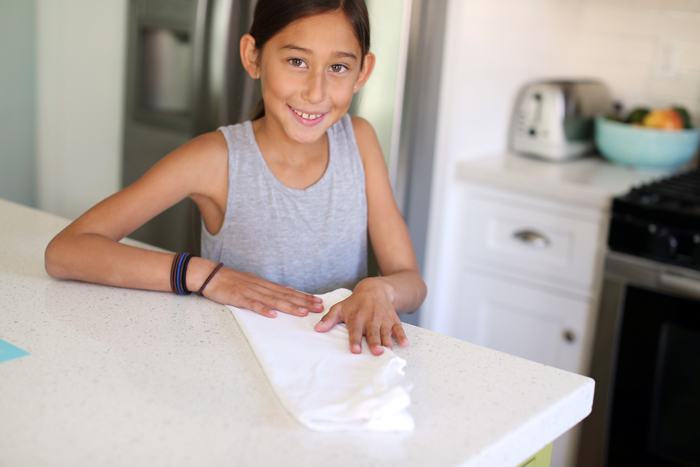
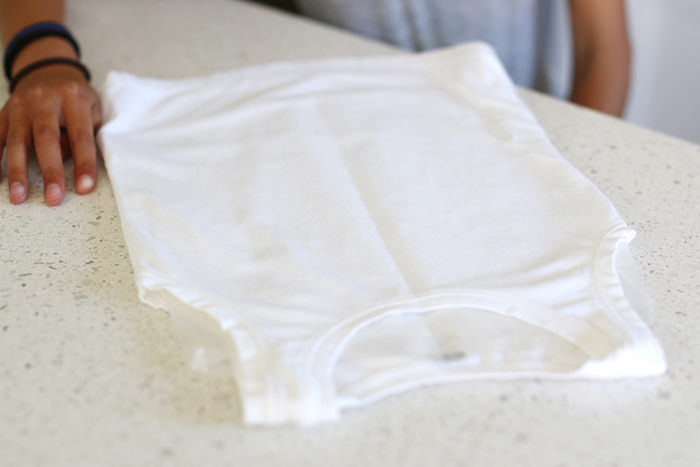
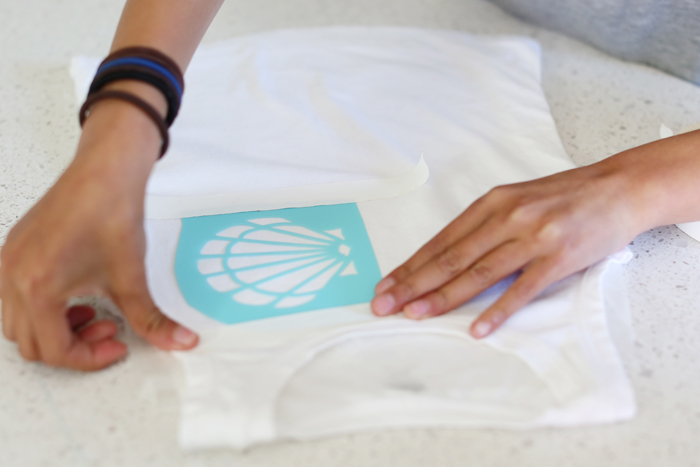
 First I had Maddy place wax paper inbetween the front and back of the shirt. Then I had her fold a crease down the center of our shirt so she can see clearly where to place the clam shell stencil.
 With the crease in place it made it easy for Maddy to see how she would place her shells.
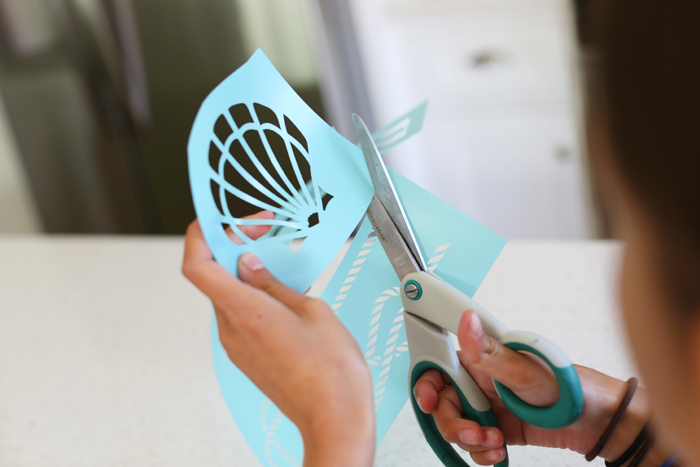
 She cut out the Clam Shell stencil so she can more easy maneuver it on the tank top.
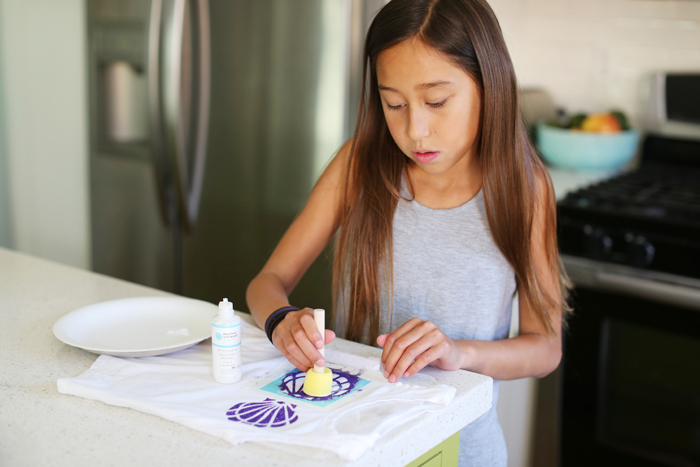
 Maddy used artist tape to hold her stencil in place.
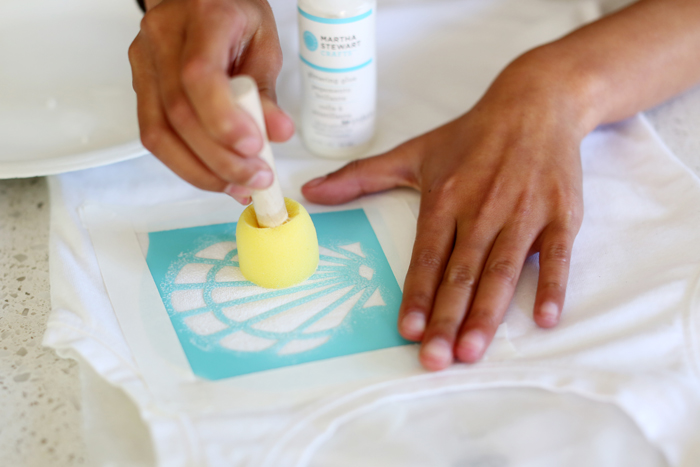
 I love these round sponges! They are so great and easy for kids to use. While holding down the stencil to make sure it didn’t lift, Maddy pounced in as much glitter glue as she could making sure to get every nook and cranny.
 Next sprinkle the fabric glitter of your choice generously over the glue. We loved little mermaid purple to match Ariels Seashells.
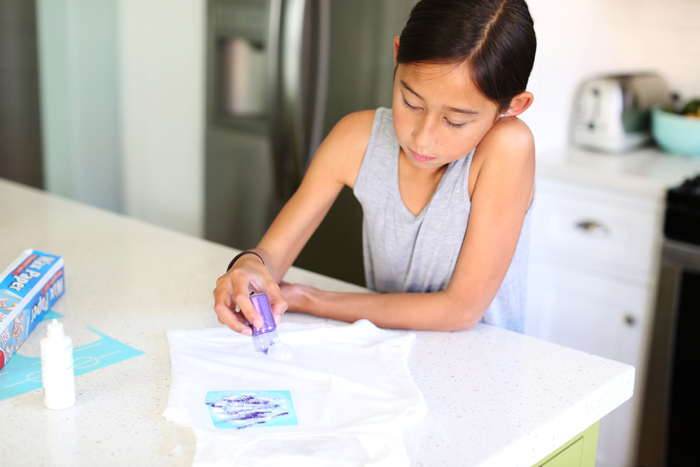 Gently press the glitter into the glue to assure it grasps the glue.
 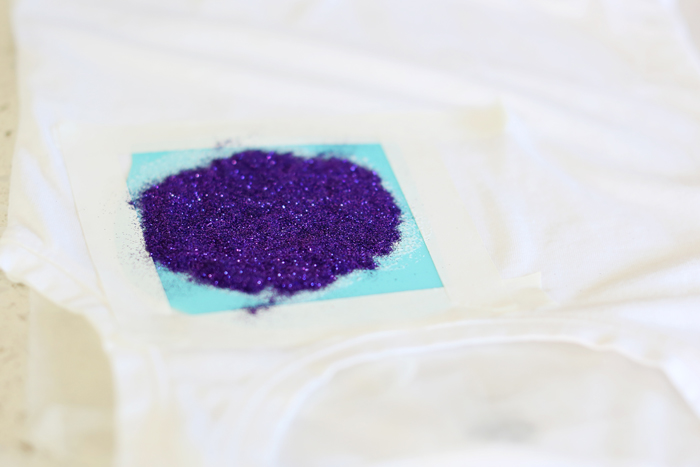 After a few minutes of drying time, gently shake off the excess glue.
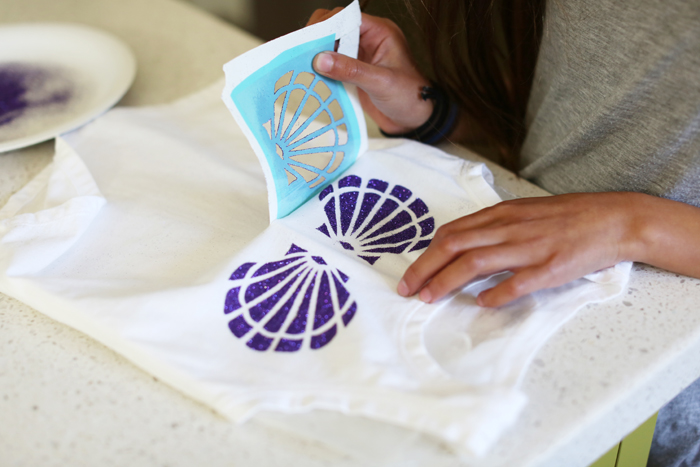
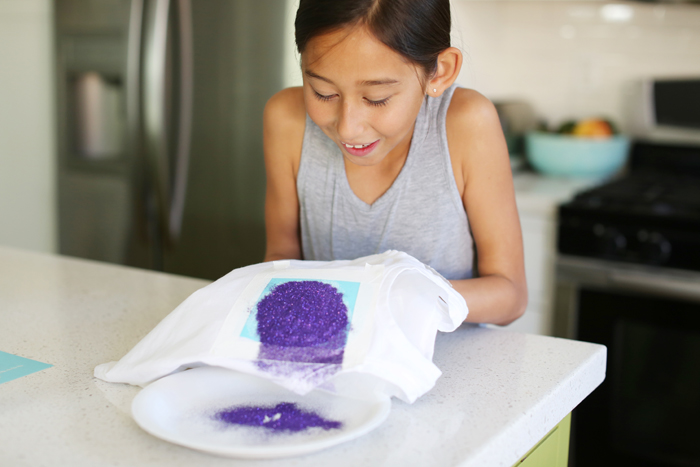 About 30 minutes later we peeled off the stencil to reveal the prettiest most sparkly Seashells ever! This part is the most exciting.
 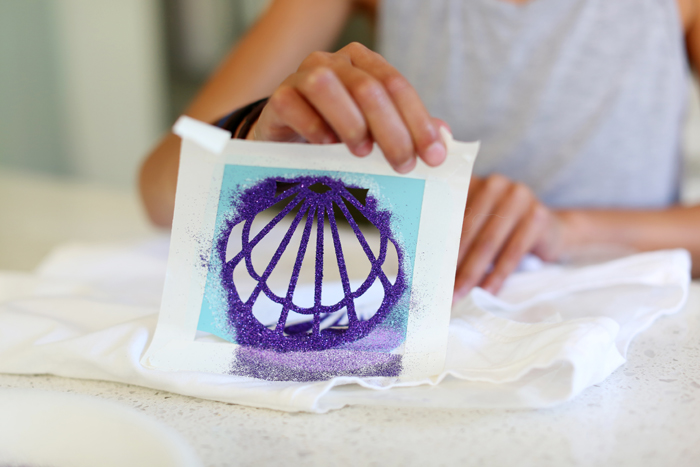 Look how pretty!
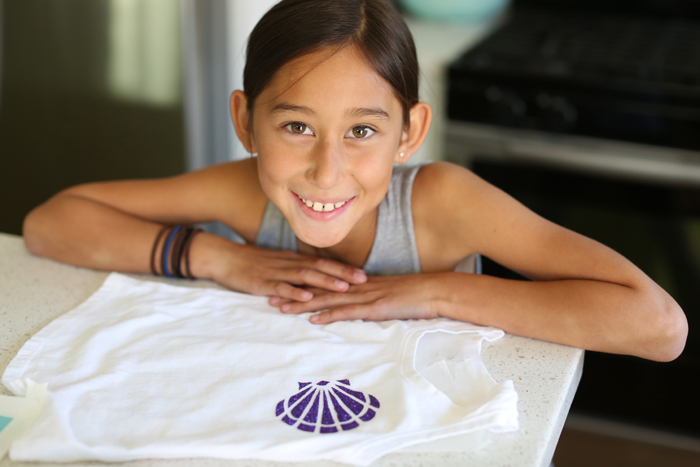 Carefully retape the stencil being sure not to get any tape on the previously made seashell and repeat the process.
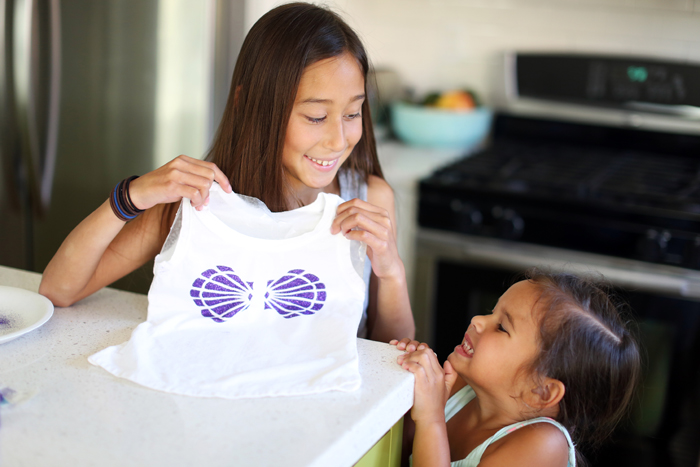
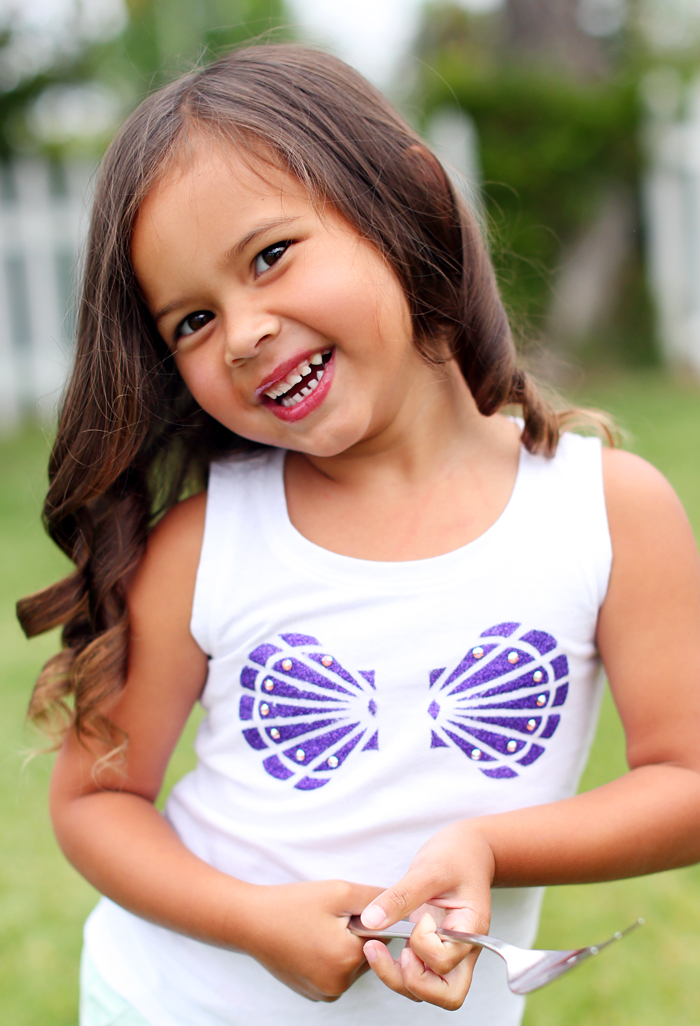
 Lucy was so happy with her Little Mermaid Tee! So pretty and sparkly!
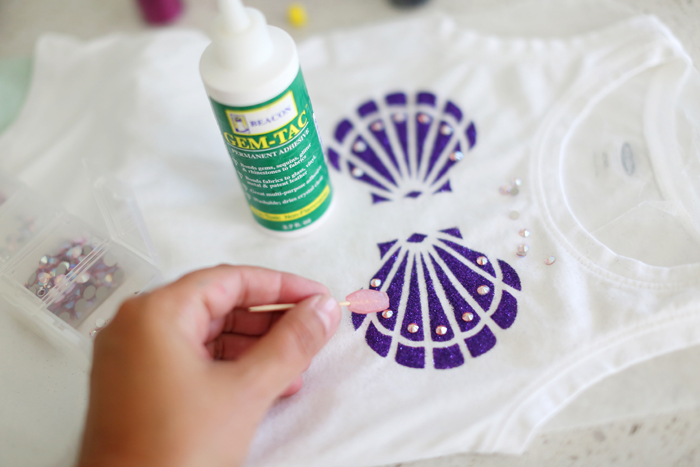
 But not sparkly enough. If you know me well, you know I’m the queen of rhinestones and love to add bling wherever I can. My poor kids, their school projects always end up so bedazzled whether they like it or not. haha. I added some Swarovski flatback crystals in Rose AB size ss 20. I always get my rhinesones in bulk from the Rhinestone Guy HERE, they also carry Gem-Tac and these awesome little wax sticks you can use to easily place your crystals. Of course you can also get rhinestones from Amazon or your local craft store. (And they don’t have to be Swarovski) (: After glueing everything down from the glitter to the crystals, I let the shirt dry for 24 hours with the wax paper still inside. It is recommended to not wash the shirt for 10 days. I’m wondering how this shirt will wash. I will have to update you all! But I’m loving it right now and hope it stays pretty.
  This happy girl is loving all her compliments today. She is now a real mermaid and loving life! And don’t you love these little Mint Shorts from Old Navy? They tie in the little mermaids green tail. Love them!
 We are heading to a beach house for the next day or 2 and I have bought white tanks for all my girls to make glitter tanks for themselves and their friends. This is such a easy craft I can’t wait to think of more glitter tee tutorials to share with you all! Summer is coming! xoxo
Leave a Reply